A lot of film producers and indie productions struggle with the launch of their promotional film websites. Often, they don’t know which software to use, how to get the right look or even what steps to take in order to build a website from the ground up. To create a basic film site in the next 24 hours you can follow these steps below:
Choose a domain
The obvious first step is to get a domain for your movie title or production company that you will then point to a server. When deciding on buying a domain, take note of the nameservers panel once you’ve made your purchase. You’ll need to change the domain’s nameservers in order for you to connect your domain to the hosting provider.
They should look something like this
NS1.NAMESERVER.COM
NS2.NAMESERVER.COM
Get a server
The next step is to get your server up and running. When we first launched our website we used Bluehost. This was a very good web hosting platform that was easy to use and allowed us to grow our online presence.
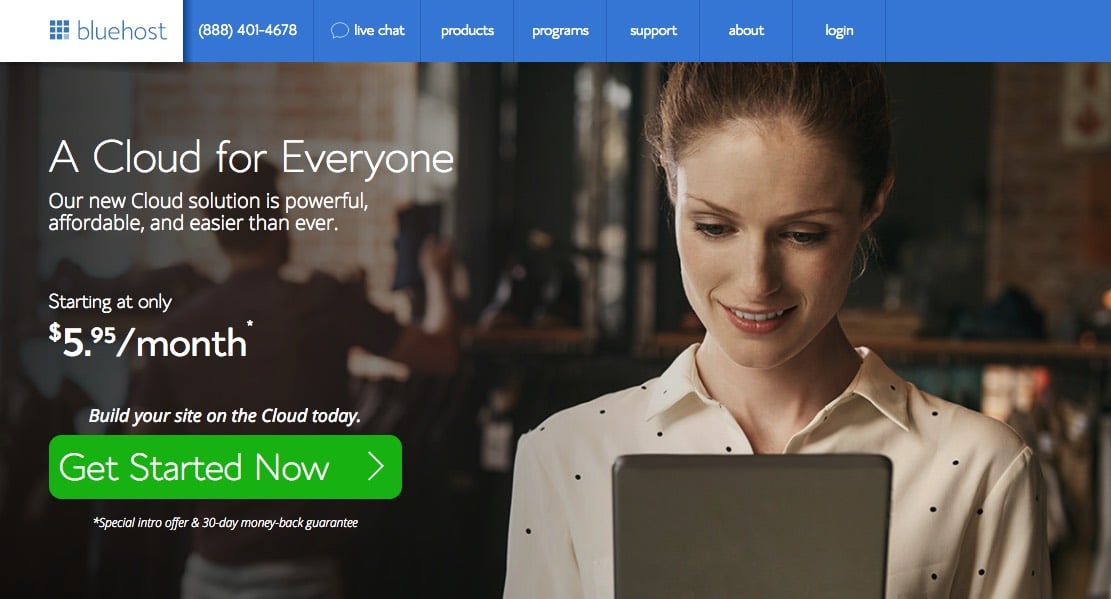
There are a number of options to choose from but for your promotional website(s), it’s a good idea to start with shared or cloud hosting options. You’ll be able to use these packages to get a free domain, launch multiple websites and manage all of your content from the same dashboard. You can order a 12-month plan that’s affordable and you’ll have a permanent solution for your professional emails as well as a place to store your promotional materials such as videos, soundtracks, movie posters and more.
If you’re just starting to figure this part out, you’ll want to look at using WordPress to build your website once you’ve bought your hosting package.
Point your domain
Ok so now you’ve got your server (host) it’s time to point your domain to it. Either you decided to get a free domain with Bluehost and everything is ready to go, or you’ve bought your domain elsewhere, for example via Godaddy.
What you need to do is to go into your domain panel on Godaddy or another service like 1and1 or Enom and look for the nameservers. You’ll have to change these to match the two names that Bluehost or your hosting company provides. Normally you’ll get an automatic email when you opened your account with this information. So now you’ve got those two names, you’ll want to copy and paste them in order to replace the generic name servers that are currently listed in your domain panel.

Once that’s done you may have to wait up to 48 hours for the domain to correctly point to your new server. If you want to check the progress of this you can go to the DNS Propagation website which shows you the status of your name servers for your domain around the world. Often this process will be quicker and take just an hour or two.
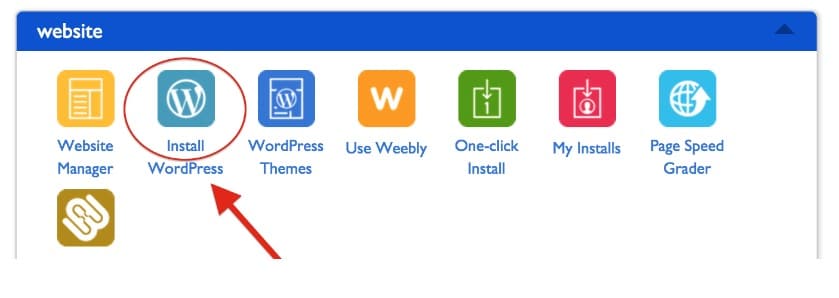
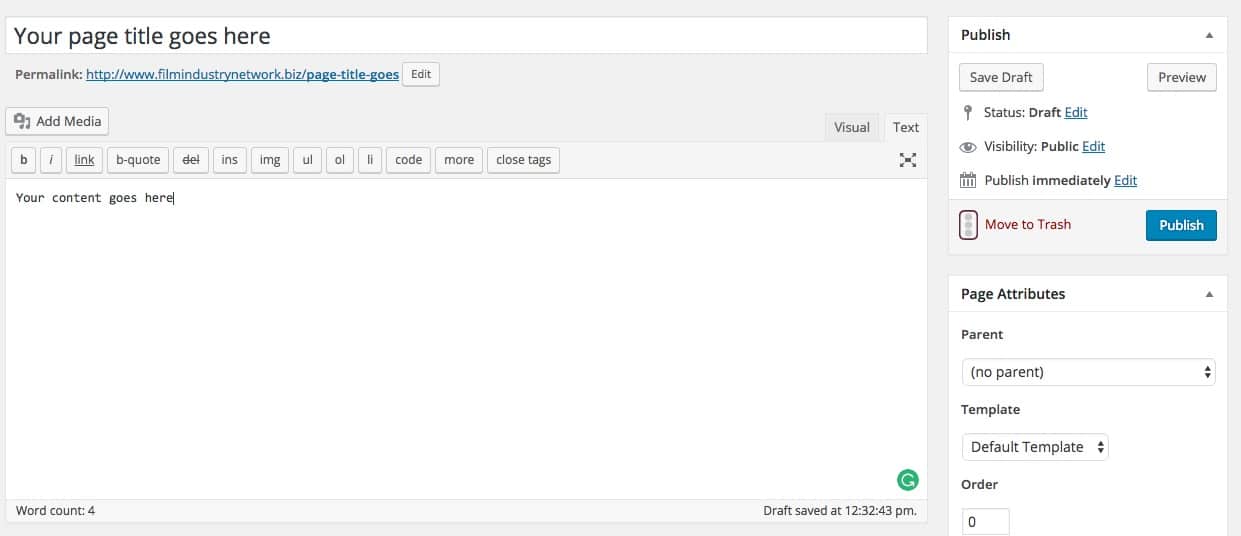
Install WordPress
With your domain pointing correctly to your server, it’s time to install WordPress. With Bluehost, you can do this in 1-click allowing you to set up your admin and login details for your WordPress website.
Take note, your WordPress login, and your server login are two different things. Once you’ve got your WordPress login, this is where you can start to design and add content to your website. Your server login will be useful when you want to add email addresses or build more sites.
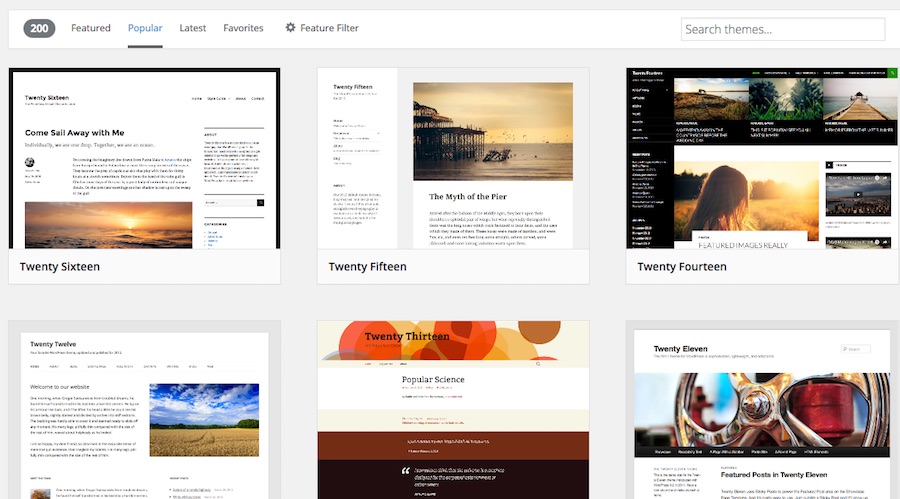
Choose a theme
In your WordPress dashboard, you’ll be able to access a host of free website themes. You can use these templates to start designing the framework of your website. You will also find ‘Pages’ and ‘Posts’ listed on the left. Pages are for static content and posts are ideal for blogs and articles that you write on a regular basis.
Have a play around with these menus and start testing out the functions. There is a learning curve for WordPress but it is the ideal platform for promotional websites, blogs, and even larger platforms. (Film Industry Network is built with WordPress)
Create your content
Next is your content. Once you’ve decided to choose a theme you can activate it and you’re site will start to look a little different. It’s time to populate it with content. To begin this process, start creating pages and adding titles such as About, Screening Times, Synopsis or other sections that will give your fans further information about your film.
Once you’ve published these pages via the editor, you’ll be able to tie these into a menu. In your WordPress dashboard head over to ‘Appearance’ and then in the submenu click ‘Menu’. From here you’ll be able to add your pages.
There are of course premium themes and more advanced features like sliders and video backgrounds you can use to make your website stand out, but if you’re just starting with a basic film site, you can use the free templates and customize them with your own images and videos.
Add your Product/listing
If you’re making a film website for your latest release you can create pages to add information about screening times and include details about where people can pre-order a DVD. It’s best to have two separate pages that you can send people to so that they are given a clear direction. It’s also a good idea to make sure your fans know about when your DVD or VOD screening is going to become available. Giving them a pre-order option on your website is essential.
To help people buy your film directly you can use the HTML editor to simply highlight text inside your pages or blog posts and create a link to your product page. You may have already decided to set up a page on Amazon so you can link this to your promotional website.

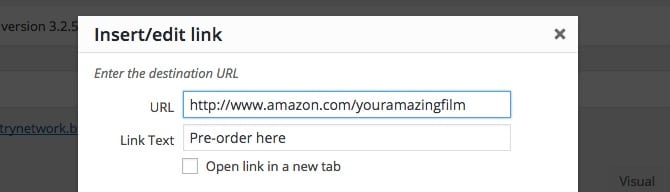
If you want to take things a step further you might want to explore the options of selling your film and possibly even merchandise or special items via your own online store. You can do this in two steps. One would be to create a separate store website that you link directly to your main promotional site. Or you can create buy buttons inside your existing site to take payments directly.
—
If you want to take things to the next level explore some of the free and paid courses to learn how to do more advanced customizations with coding and plugins. If you’re considering to promote a new film with a website but don’t have the budget to hire a developer, understanding how to do it yourself could save you a lot of money and give you the freedom to build more sites in the future for your company or your clients.
Check out our popular tutorial on the 7 things you can do in the next 30 days to generate more revenue in the film industry.